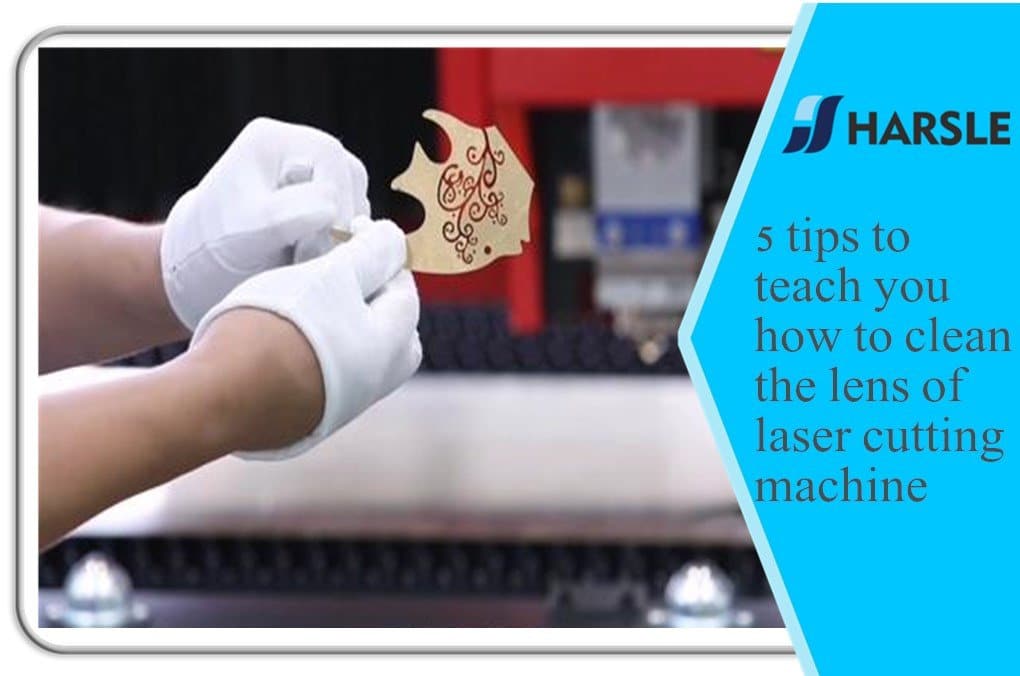
5 dicas para ensiná-lo a limpar as lentes da máquina de corte a laser

Precauções para limpar as lentes da máquina de corte a laser corretamente:

- Certifique-se de usar protetores de dedo ou luvas de borracha para instalar a lente.
- Desative os instrumentos pontiagudos para evitar arranhar a superfície da lente.
- Pegue a borda da lente ao tirar a lente para evitar tocar no filme. O ambiente para teste e limpeza da lente deve ser seco e limpo.
- A bancada deve manter várias camadas de tecido limpo e várias lentes limpas.
- Não fale acima das lentes e mantenha possíveis contaminantes (como alimentos, bebidas, etc.) longe do ambiente de trabalho.
As etapas para limpar adequadamente as lentes da máquina de corte a laser são as seguintes:
- Sopre o flutuador na superfície da peça original soprando um balão.
- Limpe o lente suavemente com acetona de grau analítico. A limpeza deve ser feita de uma só vez para evitar nervuras onduladas.
- Se a acetona não remover toda a sujeira, use vinagre ácido para limpá-la.
- Quando a contaminação e os danos da lente não podem ser removidos, a única maneira de restaurar o bom desempenho é substituindo a lente.
Ao usar a máquina, as lentes devem ser limpas e operadas corretamente, para que sua vida e desempenho sejam sem dúvida significativamente melhorados. Esta é também uma das formas de garantir a vida e estabilidade da máquina de corte a laser. Mais prevenção e manutenção podem fazer com que as máquinas de corte a laser trabalhem por mais tempo e tenham maior estabilidade, o que traz mais benefícios aos fabricantes.
Here are five tips to help you clean the lens of a laser cutting machine effectively:
- Safety First:
- Before you start cleaning, make sure the laser cutting machine is turned off, and the power source is disconnected to prevent any accidental activation of the laser.
- Wear appropriate personal protective equipment (PPE), such as safety glasses, gloves, and a lab coat, to protect yourself from any potential hazards.
- Gather the Right Tools:
- You will need lint-free lens cleaning wipes or optical cleaning tissue, isopropyl alcohol (99% pure), a lens cleaning brush or air bulb, and a pair of clean, non-abrasive tweezers.
- Ensure that all your tools are clean and free from dust and debris before you begin.
- Remove the Lens:
- Follow the manufacturer’s instructions to safely remove the lens from the laser cutting machine. Typically, this involves opening the access panel and using your tweezers to carefully remove the lens from its holder.
- Clean the Lens:
- Use a lens cleaning brush or air bulb to gently remove any loose dust or debris from the lens surface. Be very gentle to avoid scratching the lens.
- Apply a small amount of isopropyl alcohol to a lint-free lens cleaning wipe or optical cleaning tissue. Avoid using excessive alcohol, as it can damage the lens coating.
- Gently wipe the lens surface in a circular motion, starting from the center and working your way outwards. Use a fresh section of the cleaning wipe or tissue for each pass.
- Repeat the cleaning process if necessary until the lens is completely clean and free from any residues.
- Reinstall the Lens:
- Carefully place the cleaned lens back into its holder following the manufacturer’s instructions. Make sure it is seated properly and securely.
- Close the access panel and reconnect the power source.
- Power on the laser cutting machine and perform a test cut to ensure that the lens is functioning correctly and that there are no issues with the cleanliness of the lens.
- lens of laser cuttinglens of laser cuttinglens of laser cuttinglens of laser cuttinglens of laser cuttinglens of laser cuttinglens of laser cuttinglens of laser cuttinglens of laser cuttinglens lens of laser cuttinglens lens of laser cuttinglens lens of laser cuttinglens


