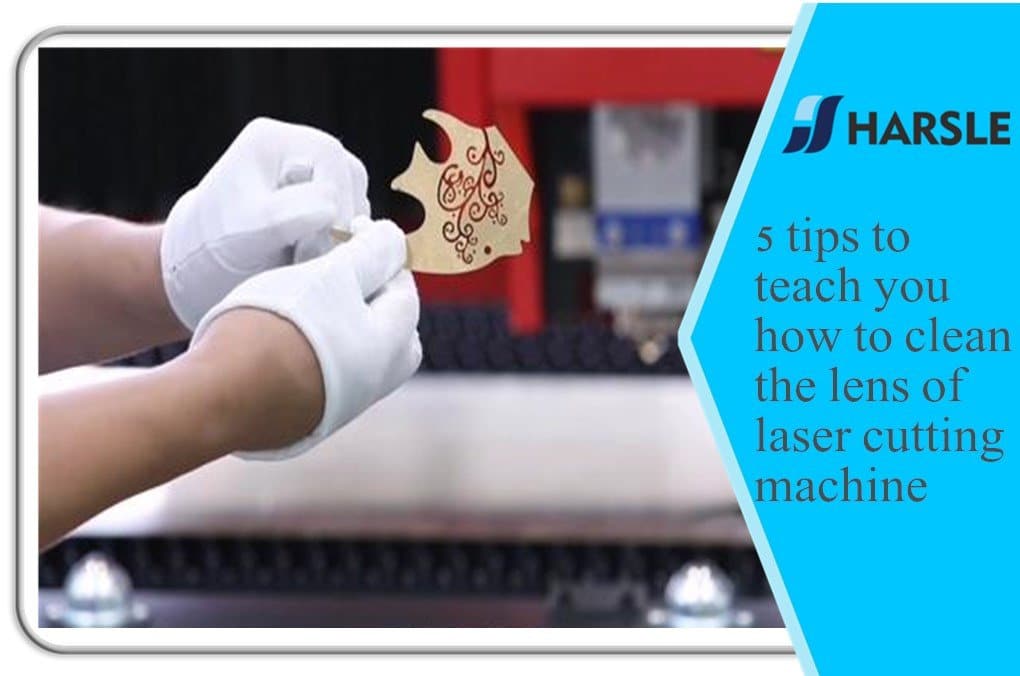
5 نصائح لتعليمك كيفية تنظيف عدسة آلة القطع بالليزر

احتياطات لتنظيف عدسة آلة القطع بالليزر بشكل صحيح:

- تأكد من ارتداء مهود الأصابع أو قفازات مطاطية لتثبيت العدسة.
- قم بتعطيل الأدوات الحادة لتجنب خدش سطح العدسة.
- خذ حافة العدسة عند أخذ العدسة لتجنب لمس الفيلم. يجب أن تكون بيئة اختبار العدسة وتنظيفها جافة ونظيفة.
- يجب أن تحافظ طاولة العمل على عدة طبقات من الأنسجة النظيفة والعديد من العدسات النظيفة.
- لا تتحدث فوق العدسة ، واحتفظ بالملوثات المحتملة (مثل الأطعمة والمشروبات وما إلى ذلك) بعيدًا عن بيئة العمل.
فيما يلي خطوات تنظيف عدسة آلة القطع بالليزر بشكل صحيح:
- انفخ العوامة على سطح الجزء الأصلي عن طريق نفخ البالون.
- نظف ال عدسة بلطف مع الأسيتون الصف التحليلي. يجب أن يتم التنظيف في وقت واحد لتجنب الضلوع المتموجة.
- إذا لم يستطع الأسيتون إزالة كل الأوساخ ، فاستخدم الخل الحمضي لتنظيفه.
- عندما يتعذر إزالة التلوث وتلف العدسة ، فإن الطريقة الوحيدة لاستعادة الأداء الجيد هي استبدال العدسة.
عند استخدام الماكينة ، يجب تنظيف العدسة وتشغيلها بشكل صحيح ، حتى يتم تحسين حياتها وأدائها بشكل كبير بلا شك. هذه أيضًا إحدى الطرق التي نضمن بها عمر واستقرار آلة القطع بالليزر. يمكن أن يؤدي المزيد من الوقاية والصيانة إلى جعل آلات القطع بالليزر تعمل لفترة أطول وتتمتع بثبات أعلى ، مما يجلب المزيد من الفوائد للمصنعين.
Here are five tips to help you clean the lens of a laser cutting machine effectively:
- Safety First:
- Before you start cleaning, make sure the laser cutting machine is turned off, and the power source is disconnected to prevent any accidental activation of the laser.
- Wear appropriate personal protective equipment (PPE), such as safety glasses, gloves, and a lab coat, to protect yourself from any potential hazards.
- Gather the Right Tools:
- You will need lint-free lens cleaning wipes or optical cleaning tissue, isopropyl alcohol (99% pure), a lens cleaning brush or air bulb, and a pair of clean, non-abrasive tweezers.
- Ensure that all your tools are clean and free from dust and debris before you begin.
- Remove the Lens:
- Follow the manufacturer’s instructions to safely remove the lens from the laser cutting machine. Typically, this involves opening the access panel and using your tweezers to carefully remove the lens from its holder.
- Clean the Lens:
- Use a lens cleaning brush or air bulb to gently remove any loose dust or debris from the lens surface. Be very gentle to avoid scratching the lens.
- Apply a small amount of isopropyl alcohol to a lint-free lens cleaning wipe or optical cleaning tissue. Avoid using excessive alcohol, as it can damage the lens coating.
- Gently wipe the lens surface in a circular motion, starting from the center and working your way outwards. Use a fresh section of the cleaning wipe or tissue for each pass.
- Repeat the cleaning process if necessary until the lens is completely clean and free from any residues.
- Reinstall the Lens:
- Carefully place the cleaned lens back into its holder following the manufacturer’s instructions. Make sure it is seated properly and securely.
- Close the access panel and reconnect the power source.
- Power on the laser cutting machine and perform a test cut to ensure that the lens is functioning correctly and that there are no issues with the cleanliness of the lens.
- lens of laser cuttinglens of laser cuttinglens of laser cuttinglens of laser cuttinglens of laser cuttinglens of laser cuttinglens of laser cuttinglens of laser cuttinglens of laser cuttinglens lens of laser cuttinglens lens of laser cuttinglens lens of laser cuttinglens


